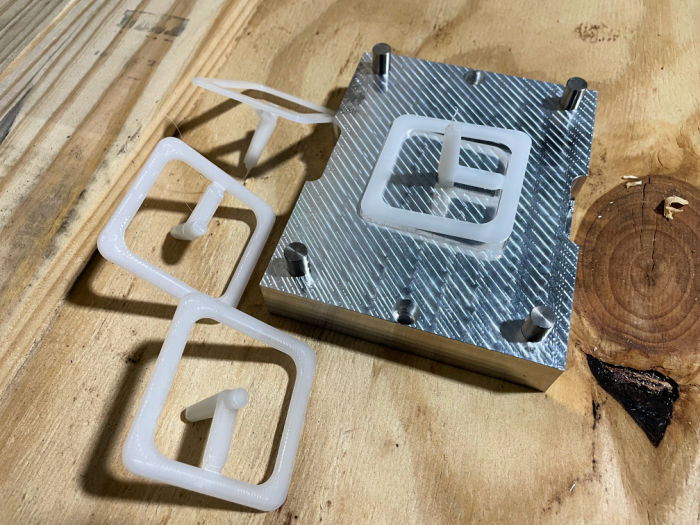
Once you place the machine in its place, you can use the APSX-PIM and the "test mold" installed on it. The test mold is for you to experiment with the machine and learn the settings available to you. The APSX-PIM is fully electric and runs on regular 115VAC outlet. It does NOT use any hydraulics or air components.
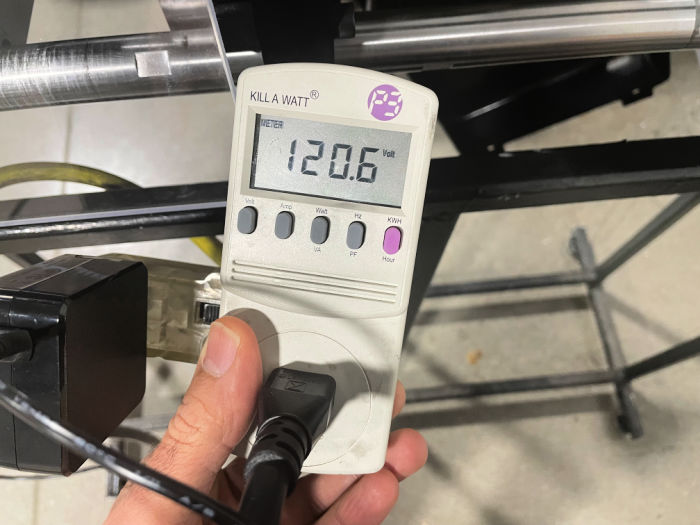
Ensure that the USB cable is not inserted into the Tablet PC yet. Plug the power cord into a standard wall outlet with a 20AMP fuse and wait for the humming sound from the motors. If you use the Kill-A-Watt tool that comes with the machine, you can monitor the voltage and also the watt consumption. The power consumption rate is 750W on average and 1400W at peak.
If you have to use a power extension cable, use a thick gauge (12 AWG) and the shortest possible (10 ft).
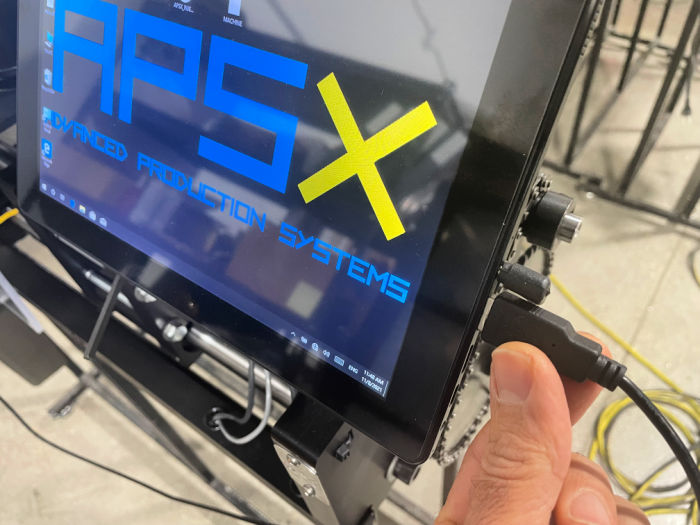
Plug the USB cable to the Tablet PC and wait for the digital sound. The key is to watch for fast-moving numbers at the bottom right corner of the software screen. We call it the heartbeat.
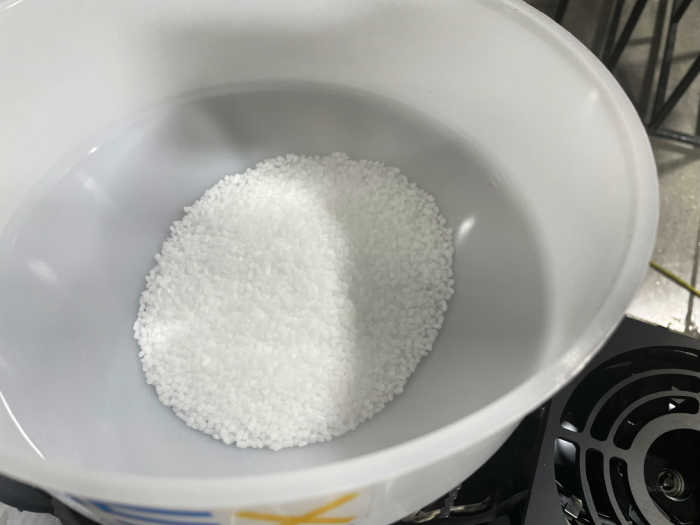
Ensure that the hopper has plastic pellets inside. You will use the 2 lbs natural PP that we provide you with the machine. The test mold is designed for only the PP, PE, TPO and TPE. It may not perform well for other materials.
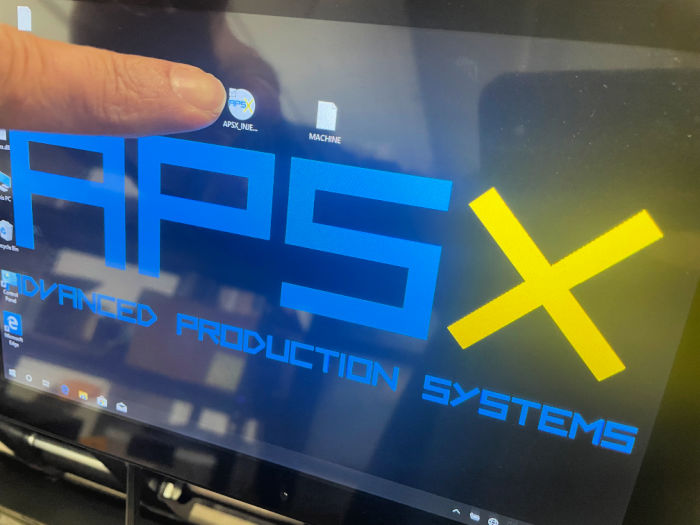
If it is not ON already, click on the APSX_INJECTION icon on the desktop to start the software.
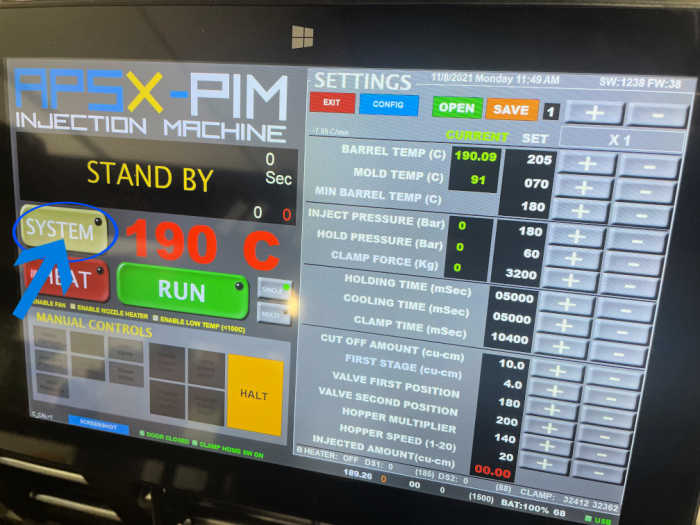
Push the system button and read the warning message as a popup window.
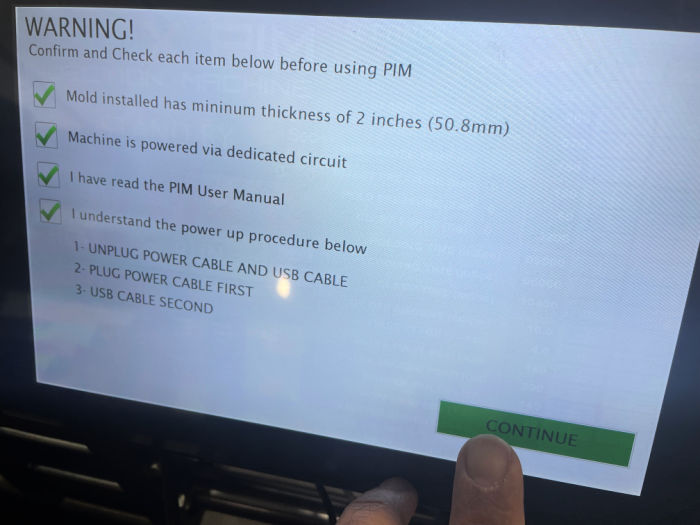
Check all the boxes to confirm.
Push the HEAT button to start the heating process. It may take 15-20 minutes from the room temperature to 200C.
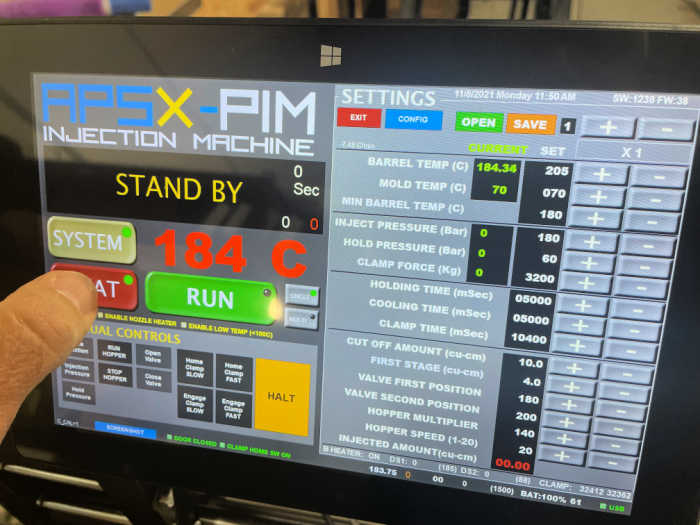
Push the home clamp and home injection buttons to ensure that they are at their home positions. The machine comes with some natural PP plastic inside the barrel. We use that plastic for testing the machine. If there is no plastics inside the barrel, prime it again by pushing the Run Hopper button.
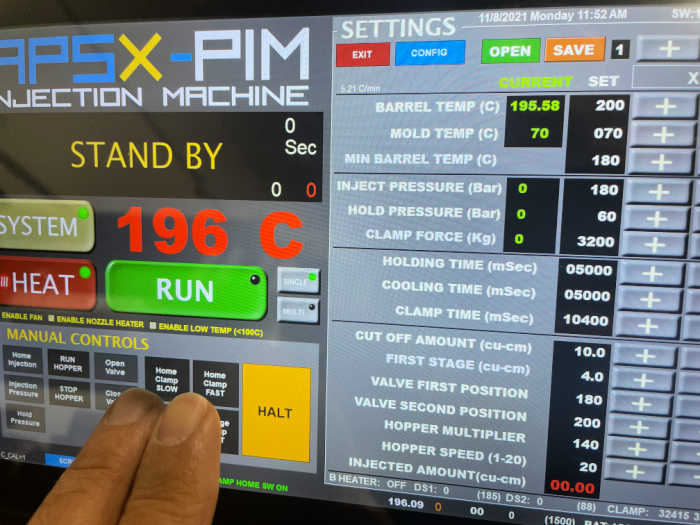
When you are ready (without idling the machine on the heat for more than 5 minutes), start the cycle (single) by pushing the RUN button. The heater will automatically turn off after 5 minutes of non use to prevent material degradation.
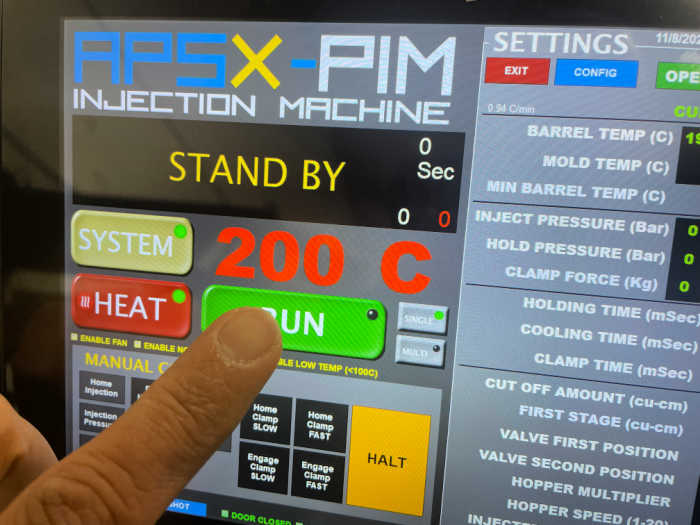
The cycle takes about a minute to complete. You can follow the user screen to see at which stage the machine is: Clamping, Injecting, Holding, Cooling, Homing and Completed.
At the end of the cycle, please use the provided plastic picker to pick the part from the mold. When you are ready, you can run another cycle to make your next part. DO NOT TOUCH THE MOLD since it is hot.
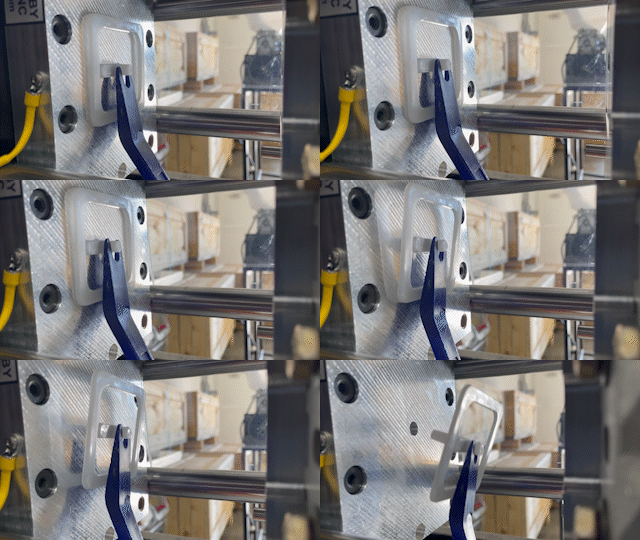
Please play with the parameters to see the effect on the plastic part to learn the injection molding concept by doing it.
